Showing posts with label Sues work unit 57. Show all posts
Showing posts with label Sues work unit 57. Show all posts
Tuesday, 8 April 2014
Demonstrate blurred movement


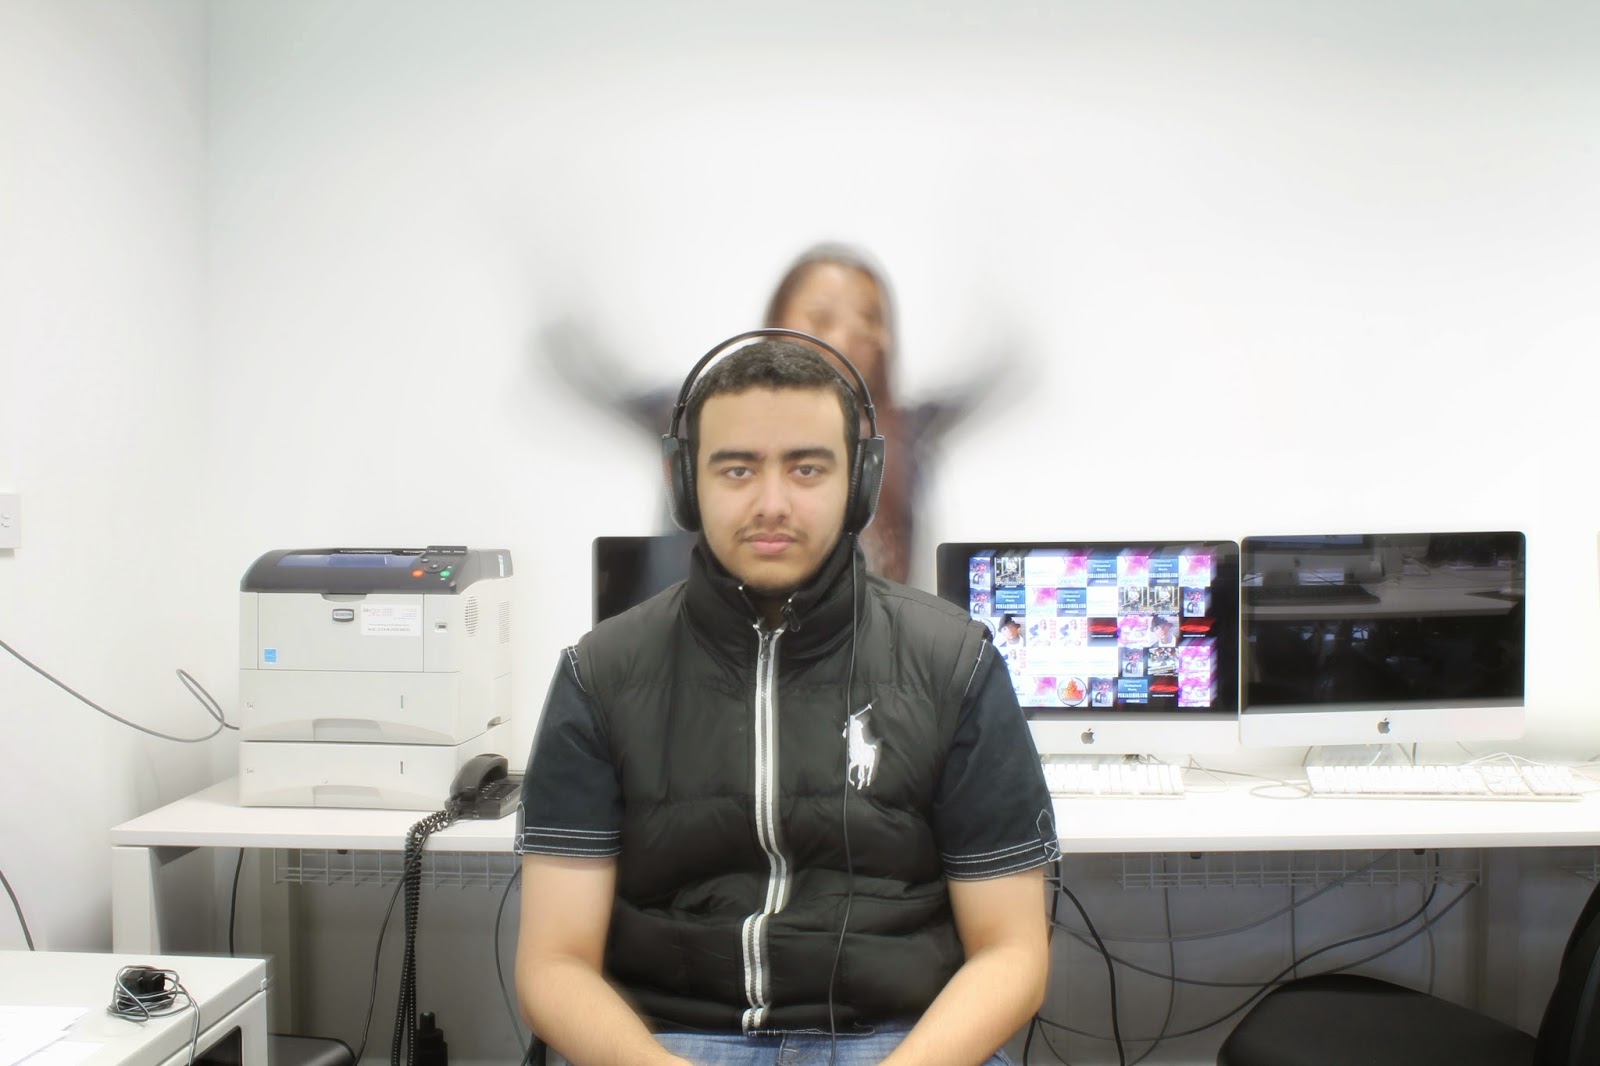


1. Slow Down Your Shutter Speed
The reason for movement blur is simply that the amount of time that the shutter of a camera is open is long enough to allow your camera’s image sensor to ‘see’ the movement of your subject.
The reason for movement blur is simply that the amount of time that the shutter of a camera is open is long enough to allow your camera’s image sensor to ‘see’ the movement of your subject.
2. Secure Your Camera
There are two ways to get a feeling of movement in your images – have your subject move or have your camera move (or both). In the majority of cases that we featured in last week’s post it was the subject that was moving.
There are two ways to get a feeling of movement in your images – have your subject move or have your camera move (or both). In the majority of cases that we featured in last week’s post it was the subject that was moving.
3. Shutter Priority Mode
One of the most important settings in photographing an image which emphasizes movement is the shutter speed (as outlined above). Even small changes in shutter speed will have a big impact upon your shot – so you want to shoot in a mode that gives you full control over it.
One of the most important settings in photographing an image which emphasizes movement is the shutter speed (as outlined above). Even small changes in shutter speed will have a big impact upon your shot – so you want to shoot in a mode that gives you full control over it.
demonstrating framing techniques


Framing is the technique of drawing attention to the subject of your image by blocking other parts of the
image with something in the scene.
1. giving the photo context (for example framing a scene with an archway can tell you something about the place you are by the architecture of the archway or including some foliage in the foreground of a shot can convey a sense of being out in nature).
2. giving images a sense of depth and layers (in essence framing a shot generally puts something in the foreground which adds an extra dimension to the shot).
3. leading the eye towards your main focal point (some ‘frames’ can draw your photo’s viewer into the picture just by their shape). Some also believe that a frame can not only draw the eye into a picture but that it keeps it there longer – giving a barrier between your subject and the outside of the shot.
4. intriguing your viewer. Sometimes it’s what you can’t see in an image that draws you into it as much as (if not more than) what you can see in the picture. Clever framing that leaves those viewing your image wondering a little or imagining what is behind your frame can be quite effective


.jpeg)


Saturday, 8 March 2014
Overall Evaluation
During my pre-production, I didn't research enough about fashion magazine and looked at only one magazine when I should be looking at different varieties of fashion magazines. this would of helped me to inspire my moodboard a little bit more and give me more ideas on how I will create my own photography portfolio.
However, I did manage to find a simple photographic technique that is very achievable and doesn't require lots of props. My idea was the teen vogue magazine, I asked a classmate to model for me for the shoot because I believed that she was suited for the magazine.
I noticed that in all of teen vogue's magazine images the models are based outside and not in the studio but because due to the weather on the day of the shoot, the natural lighting wasn't bright enough where instead I used a blank studio background as my alternative background for the photo's. I should of thought about it more carefully and decide to use the green screen in the studio instead and paste a bright scenery instead of using a blank background.
In my post-production, I was pleased that I was able to achieve the magazine style of photography skills where the camera creates a full body shot of the model to show off her fashionable clothing and the expressions of the model. What I did not achieve that I should of asked if the model had any bright/bold coloured clothes as some of the clothing in the magazine were quite bold and rich in colour.
Friday, 7 March 2014
Thursday, 6 March 2014
Tuesday, 28 January 2014
TASK 3 : MOODBOARD

I will base my photographic images on teen vogue magazine because its simple and very easy to achieve. What I like about teen vogue pictures is that all of them all have a simple yet effective technique of presenting teen fashion in one way. (The full body shot). The lighting techniques that are used in these photo's are very bright and ''happy'' which sets the happy mood for the audience to see also the fact that all the models are smiling in every photo makes it more appealing and interesting to look at.
Majority of the models used in theses photo's look 17+ year old females, wearing fashionable clothing indicating that the target audience are for teen girls with a mixed of ethnicity however, most will be middle class because of the expensive accessories and clothing that they are wearing.
The key framing techniques in these photo's are the background settings. the camera frames the model in the middle and the roads are the guide to framing the full body shot image. it creates attention to the readers to look at what the models are wearing instead of looking at their faces.
Tuesday, 26 November 2013


Monday, 18 November 2013
My chosen portrait photography

Why have I chosen this photograph?
The reason why I chose this photograph is because its very simple. I like the fact that the model is looking straight at the camera instensly and the black and white effect creates a more dramatic feel as well as an a classic look. The camera is not focusing on anything else but the model only and is very focused on her expressions and body language which is why her clothes and hair are very basic so it encourages the viewer to look at her face even more. I would think that this photograph is used for professional high end fashion because of its sleek, shiny, smooth texture.
Lighting and setting
Due to the fact that the models face is very bright and subtle, the light is facing towards her creating a soft lighting technique with a plain background. It looks like a clam-shell technique was used in this photo because the models face looks very bright. The photographer used the rules of thirds in order to keep her focused including her eyes (which are the guidelines to any portrait photography.).
how will you re-create it ?
I will re-create this photograph by taking a tripod, camera and a friend (who is willing to model for me) to help me create this footage. I will be using the college's TV studio with the model standing in front of a plain background. Using the clam-shell lighting technique, I will use this and create a similar portrait to the original footage that I'm trying to refurbish. The subject won't have to wear any costume.
Wednesday, 13 November 2013
Light Graffiti photography


Light graffiti ( or Light painting) is a photographic technique that exposes are made by hand-held moving light sources. Light graffiti is often used at events or special occasions where its dark and very little light is present.
Step 1. To create a Light graffiti photography, you must first get a glow stick, torch or anything that displays light on it and a tripod.

Step 2. With your tripod, glow stick or torch, go to a dark room and set up your tripod.

Step 3. Next, you set your camera to manual mode if its a DSLR, and set the shutter speed to 30 seconds, set your ISO to one hundred and your aperture (f/stop) to 5.6.
(like the picture below)

Step 4. Face the torch, glow stick etc to the camera lens and start writing!
Tuesday, 5 November 2013
Different Lighting techniques (Portrait photography) Unit 53


Light
Hard light is when the light is shinning in one direction of the subject which results to one side of the subject being really bright and the other side really dark. soft light is when the light wraps around the subject and diffuses the shadow a more ''softer'' look.
A soft box describes an enclosure that surrounds all light source and diffuses the light that escapes from it. A clam shot is when the light is facing towards the model and place the reflector underneath the model's chin to create a brighter photograph, this is often used in beauty and cosmetic use. What I like about the clam shell lighting is that it makes the subject look brighter and more youthful.
Strong Directional Lighting
This type of light usually seen outdoors when the sun is out and is coming in one particular angle. Photos of sunrise and sunsets are a good example of a directional light because the light is coming from one angle which creates a relaxed, warm and carefree feeling.
What is rim lighting?
Rim lighting, which is sometimes referred to as back light is when the subject is placed in front of the light and you can see a light outline of the subject. This technique pulls the subject off the background and creates some depth and dimension to what you are shooting.
Subscribe to:
Comments (Atom)